
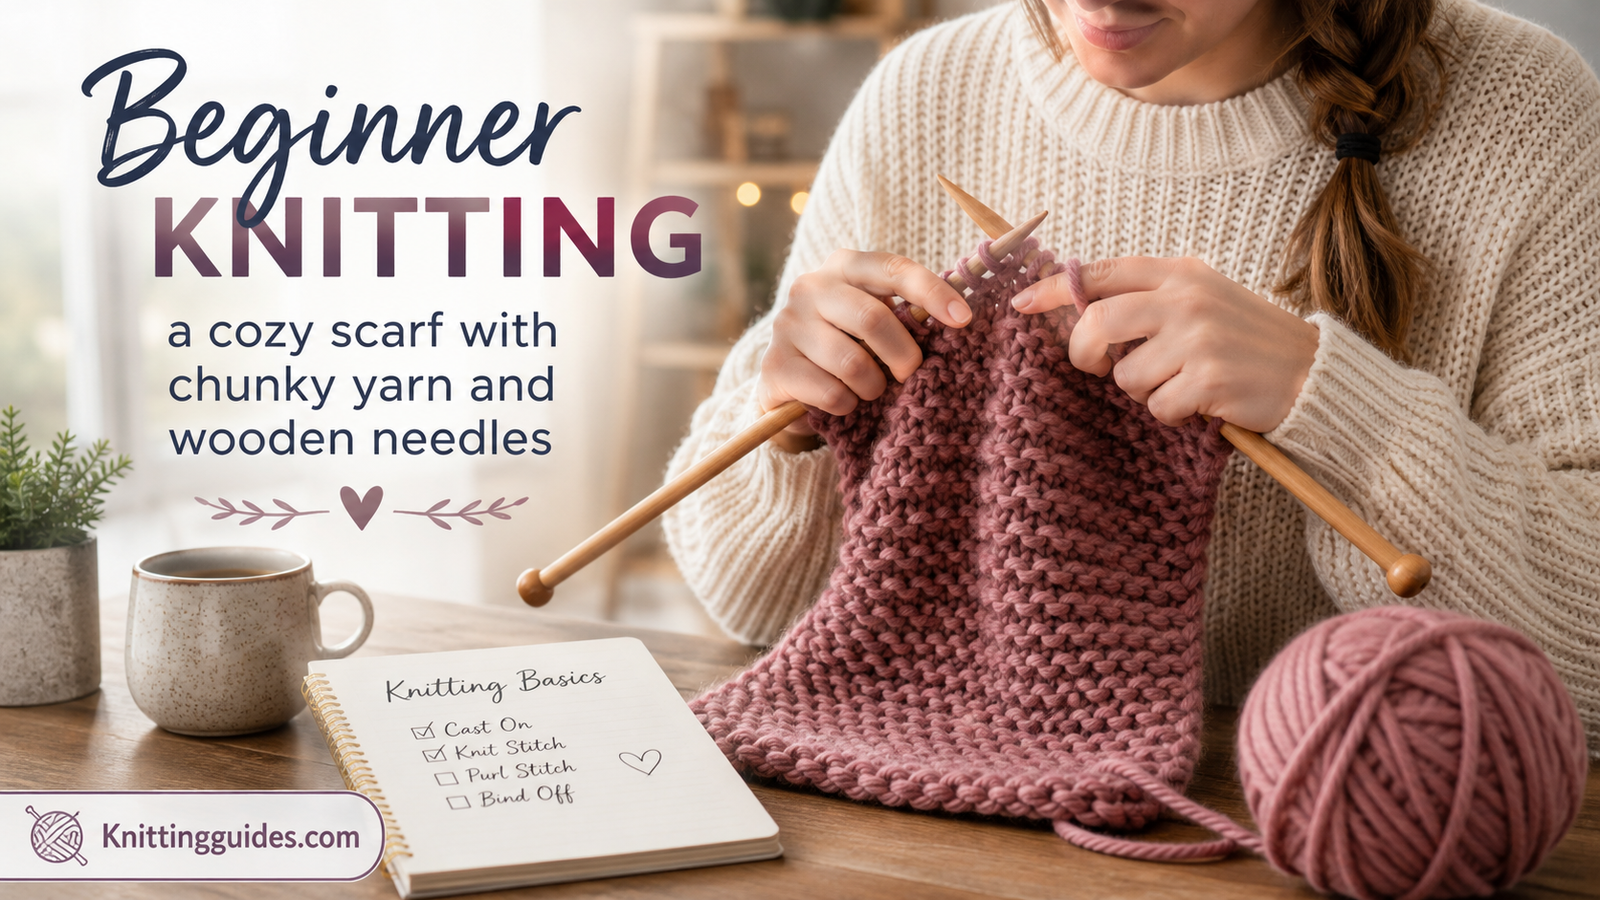
How to Start Knitting a Scarf
A calm, friendly, step-by-step walkthrough that takes you from a ball of yarn and two needles to a finished, wearable scarf you made with your own hands.
There is a moment every new knitter remembers. You hold two slim needles in your hands, a soft ball of yarn sits in your lap, and a quiet voice in your head asks whether you will ever be able to make anything real. Then you complete a handful of rows, look down, and see a little strip of fabric that did not exist ten minutes ago. That tiny strip is where the whole craft begins, and a scarf is the friendliest way to grow it into something you can wear.
This guide shows you how to start knitting a scarf from absolute zero. We will talk about what to buy, how to avoid the common beginner traps, and exactly how to move through each stage with your hands: the slip knot, the cast on, the knit stitch, turning rows, fixing slips, binding off, and finishing your ends. Every step has its own illustration so you can compare what you see in your lap with what we describe.
If you prefer to watch someone work before you try it yourself, the video below is a lovely companion. Play it alongside the written steps and pause as often as you like. Learning to knit is physical, and your fingers often understand a movement faster than your brain does.
1. Why a Scarf Is the Perfect First Project
Ask a dozen experienced knitters what they made first, and most will say a scarf. There is a good reason this tradition has survived generations. A scarf is a long rectangle, and a rectangle asks almost nothing of you. There is no shaping to calculate, no armholes to count, no tricky joins, and no fitting anxiety. If it comes out a little wider at one end, nobody will ever notice, and if it is a bit shorter than you planned, you simply wrap it twice.
A scarf also teaches the exact skills that every other project depends on. You will learn to make a slip knot, cast on, knit, keep your tension steady, count stitches, recover from slipped stitches, bind off, and weave in ends. Those seven abilities are the foundation of hats, blankets, cowls, dishcloths, and even sweaters. Once your hands know them, the rest of the craft is mostly variations on a theme.
Finally, a scarf gives you steady, visible progress. Every row adds a little length, and you can hold it up against your neck to see how far you have come. That feedback loop is powerful when you are new. Beginners often quit because the first few inches look messy; a scarf is long enough that your stitches visibly improve as you work, and the neat last third will make the uneven first third feel charming rather than embarrassing.
What You Will Be Making
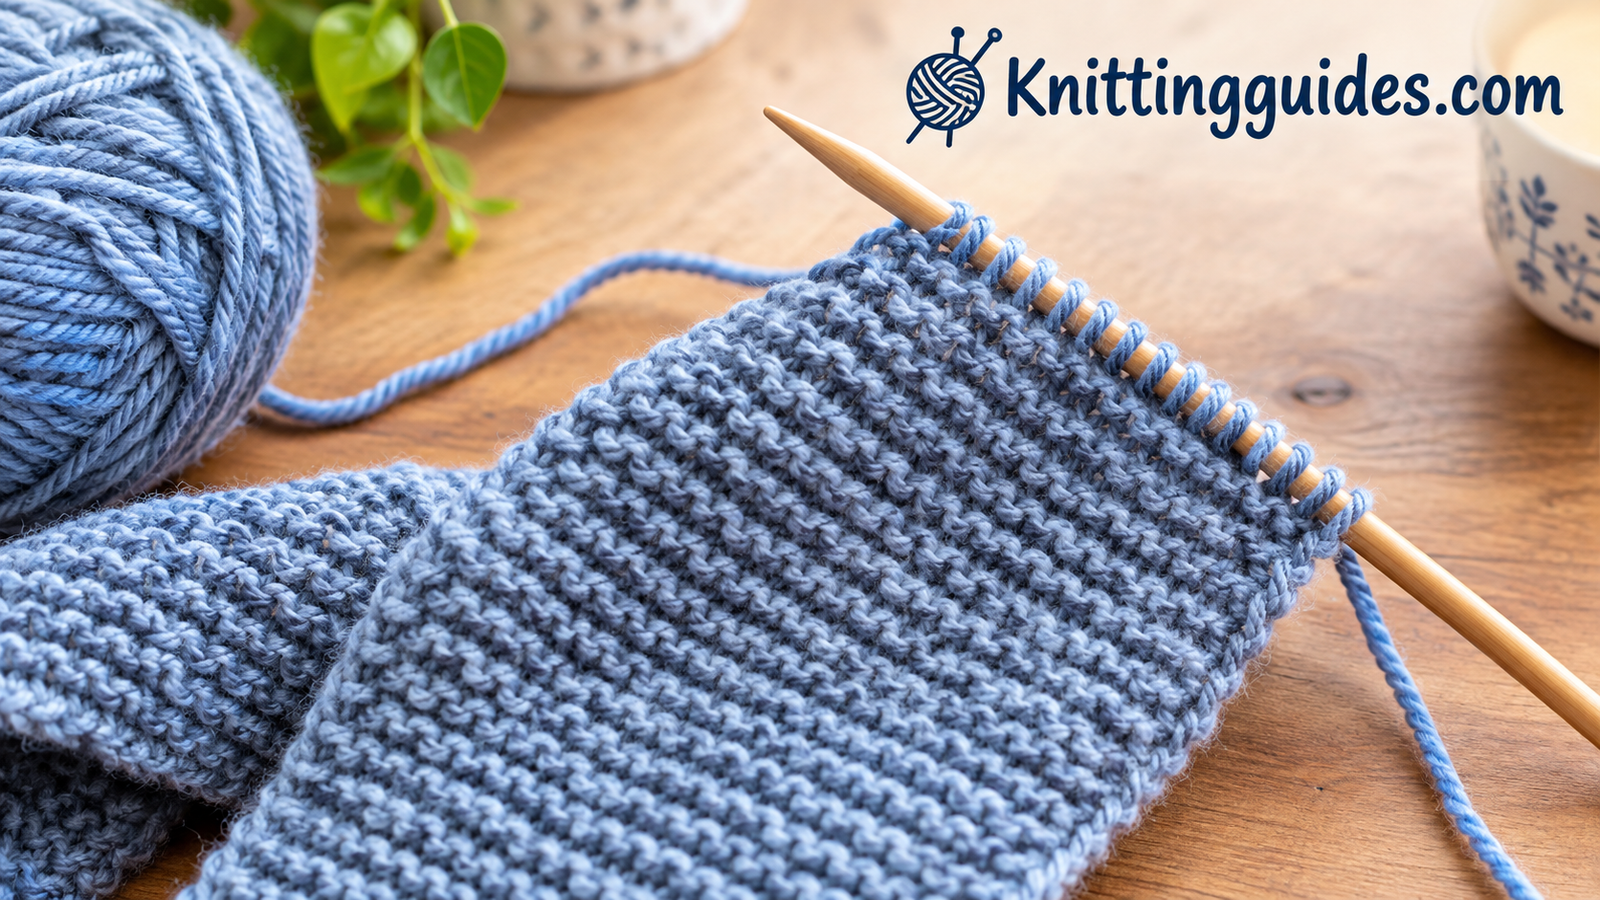
The scarf in this guide is worked in garter stitch, which means you knit every single row. That is the simplest fabric in knitting. It lies flat, it does not curl at the edges, it looks the same on both sides, and it hides small tension mistakes beautifully. The squishy ridges also give it a cozy, textured look that feels handmade in the best possible way.
Why It Works
- Only one stitch to learn
- Lies flat with no curling
- Reversible, so no wrong side
- Forgiving of uneven tension
- Easy to pick up and put down
- Makes a genuinely useful gift
What to Expect
- Early rows may look a little wonky
- Long projects need patience
- Garter fabric uses more yarn than stockinette
- Hands may feel stiff for the first few sessions
- You will drop a stitch at least once
The Quiet Rewards of Learning
Beyond the finished object, knitting offers a steady, calming rhythm that many people come to treasure. The repetitive motion gives your hands something gentle to do while your mind settles, and the visible progress is a small daily reward. Some knitters describe it as a kind of moving meditation. Others simply enjoy having something to show for an evening that might otherwise have vanished into scrolling. Whichever camp you land in, a scarf lets you test whether the craft fits your life without a big investment of time or money.
It is also a wonderfully social hobby. Libraries, yarn shops, and community centers often host knitting circles where beginners are welcomed, and online groups share tips at every hour. Having a simple scarf in your bag gives you an easy conversation starter, and almost every experienced knitter will happily show you a trick or two.
Browse beginner-friendly knitting kits with everything in one box.
2. What You Need Before You Begin
One of the best things about knitting is how little equipment it requires. You do not need a studio, a loom, or a stack of gadgets. You need yarn, needles, scissors, and one small blunt needle for finishing. Everything else is a nice extra that you can add later when you discover what you actually miss.
- Yarn: Roughly two to three skeins of chunky or bulky yarn for a classic scarf length.
- Knitting needles: One pair of straight needles in a size that matches your yarn.
- Tapestry needle: A large-eyed, blunt needle for weaving in your tails.
- Scissors: Small and sharp, so you can snip clean ends.
- Measuring tape: To check width and length as you go.
- Stitch markers (optional): Useful for marking your first stitch or counting groups.
Buying Separately or Buying a Kit
Many beginners wonder whether to buy a boxed starter set or assemble their own bundle. A kit removes decision fatigue because the yarn, needles, and notions are chosen to work together. If you want a curated shortlist, our roundup of the best knitting kits for beginners compares the options in detail. Assembling your own gives you more control over color and fiber, and it is the better choice if you already own a pair of needles or have strong preferences.
| Option | Best For | Main Advantage | Main Drawback |
|---|---|---|---|
| Starter kit | Total beginners | Everything matched and included | Limited color or fiber choice |
| Build your own | Picky or budget-minded knitters | Full control over each item | More decisions up front |
| Borrow or reuse | Casual testers | Costs almost nothing | Tools may not suit the yarn |
Small Extras Worth Having
A small project bag keeps your yarn from rolling across the floor. A pair of row counter rings or a simple tally on paper helps you remember where you stopped. Binder clips can hold a stray stitch if you need to answer the door mid-row. None of these are required on day one, but you will probably want them after a week.
Setting Up a Comfortable Knitting Spot
Where you knit matters more than most beginners expect. Choose a chair with good back support and enough light to see the shape of every stitch. A lamp placed over your shoulder works better than overhead light, which tends to cast shadows across your hands. Keep your yarn in a bowl or bag at your feet so it unspools smoothly instead of tugging at your work. These small comforts make a long session feel easy and help your tension stay even.
Tapestry needles, stitch markers, and row counters for beginners.
3. Choosing Yarn for Your First Scarf
Yarn is where beginners most often stumble, mostly because the wall of options in a craft store is overwhelming. The good news is that your first scarf has a short list of requirements. You want yarn that is thick enough to show your stitches, smooth enough to slide on the needles, light in color so you can see what you are doing, and soft enough that you actually want to wear it.
Weight Matters Most
Yarn weight describes thickness. For a first scarf, choose a bulky or chunky weight. Thick yarn works up quickly, which means you see progress sooner and stay motivated. It also makes each stitch large and easy to read, so you can tell exactly what your needle is doing. Fine yarn is lovely later, but it hides stitches and makes mistakes harder to spot.
Fiber and Texture
Acrylic and acrylic blends are the usual beginner favorites. They are affordable, machine washable, and available in many colors. Soft cotton and wool blends are wonderful too, though pure wool can feel scratchy to sensitive skin and cotton has very little stretch, which can tire your hands. Avoid fuzzy, mohair-style, or novelty yarns for your first project because they hide your stitches and make fixing errors nearly impossible.
| Yarn Type | Beginner Friendly? | Pros | Cons |
|---|---|---|---|
| Chunky acrylic | Excellent | Affordable, washable, bright colors | Can feel less breathable |
| Wool blend | Very good | Warm, springy, forgiving | May need gentle washing |
| Cotton | Fair | Soft, cool, durable | Little stretch, tiring on hands |
| Mohair or fuzzy | Poor | Beautiful halo | Hides stitches, hard to frog |
| Novelty or eyelash | Poor | Fun looks | Nearly impossible to read |
Color Tips
Choose a solid, light or medium shade. Black and very dark navy are lovely on a finished scarf but extremely hard to see while learning. Variegated yarns look pretty yet can distract you from stitch shapes. When you want a deeper dive, our guide to the best yarn for beginner knitting explains how different fibers behave on the needles.
How Much Yarn to Buy
A comfortable adult scarf is about six to eight inches wide and fifty-five to seventy inches long. In garter stitch with chunky yarn, that usually takes around 250 to 350 yards, which is often two or three skeins. Buy one more than you think you need, because dye lots vary and you will not enjoy running out near the end.
Reading a Yarn Label
The paper band around a skein is packed with useful information. Look for the weight symbol, the recommended needle size, the yardage, the fiber content, and the care instructions. Also look for the dye lot number. If you buy more than one skein, matching dye lots helps your scarf stay the same color from end to end. Mixing lots can create a faint stripe that is more noticeable than you might expect, especially in solid colors.
Chunky and bulky yarns in solid, easy-to-read colors.
4. Choosing Needles and Size
Needles come in different materials, lengths, and thicknesses, and the right pair makes learning noticeably easier. For a scarf, straight needles are the classic choice. They are simple to hold, they keep your work from sliding around, and the pointed tips are easy to use for a first stitch.
Matching Needle Size to Yarn
The yarn label usually suggests a recommended needle size. For chunky yarn, that is generally somewhere between US 9 and US 11, which is about 5.5 to 8 millimeters. If you are unsure, lean slightly larger. Larger needles create looser, easier-to-handle stitches, which are far more forgiving than tight ones. For a longer explanation, read our full guide on what size knitting needles to use as a beginner.
| Yarn Weight | Suggested US Size | Metric | Beginner Verdict |
|---|---|---|---|
| Worsted | US 7 to 9 | 4.5 to 5.5 mm | Good, slightly slower |
| Chunky | US 9 to 11 | 5.5 to 8 mm | Ideal for first scarf |
| Super bulky | US 11 to 15 | 8 to 10 mm | Fast, but heavy on wrists |
Material Choices
Bamboo and wood needles have a gentle grip that stops stitches from slipping off accidentally, which is a huge advantage when you are still building muscle memory. Metal needles are smooth and fast but can feel slippery for new knitters. Plastic needles are light and inexpensive, though they can bend. If you want a side-by-side breakdown, the best knitting needles for beginners roundup walks through the leading choices.
Bamboo or Wood
- Grippy, stitches stay put
- Warm and quiet in your hands
- Light and comfortable
Metal
- Very slippery for beginners
- Can feel cold and noisy
- Great later when you want speed
Straight, Circular, or Double-Pointed?
Straight needles have a stopper at one end and a point at the other, and they are the most intuitive choice for flat projects like scarves. Circular needles, which are two tips joined by a flexible cable, can also be used flat, and many knitters prefer them because the weight of the work rests in your lap instead of on your wrists. Double-pointed needles are mostly used for small circular items like socks and sleeves, so you can leave those for later. Whichever style you choose, make sure the tips are smooth and gently pointed so the yarn glides over them without catching.
Bamboo needles in the sizes beginners use most often.
5. Make a Slip Knot
Every knitted project begins with a slip knot. It is a simple adjustable loop that sits on your needle and acts as your very first stitch. It feels fiddly the first few times, but after five or six attempts your hands will do it automatically while your eyes are somewhere else.
Start by pulling out a tail of yarn about six inches long for practice, or longer if you want to use the long-tail cast on in the next step. Make a loose loop by crossing the yarn over itself, with the tail end lying behind the working yarn that leads back to the ball. Reach through the loop with your fingers, grab the working yarn behind it, and pull a new loop through. Slide that new loop onto your needle and gently tug both strands so the knot snugs up. You should be able to slide the loop open and closed by tugging the working yarn.
Common Slip Knot Mistakes
The most common error is making a fixed knot that will not slide. If your loop does not open and close when you tug the working yarn, you have tied a regular overhand knot instead. Untie it and try again. A second error is making the loop too tight on the needle; leave a little breathing room so the next stitch can pass through. A third is losing track of which strand is the tail and which is the working yarn. Always keep the working yarn, the one attached to the ball, on the side your fingers will hold it.
Left-Handed Knitters
If you are left-handed, you can absolutely knit in the usual way, because both hands do meaningful work. Some left-handed knitters prefer to mirror the instructions, working the yarn in the left hand and moving stitches in the opposite direction. Neither approach is wrong. Try the standard method first for a few rows, and if it feels clumsy, search for a mirrored tutorial and see which feels more natural.
Inexpensive chunky skeins are perfect for rehearsing slip knots.
6. Cast On Your Stitches
Casting on is how you build the first row of stitches on your needle. There are many methods, and each produces a slightly different edge. For beginners, the long-tail cast on is a popular choice because it creates a firm yet stretchy edge that looks tidy at the bottom of a scarf. The knitted cast on is an excellent alternative if you find the long-tail movement confusing. For a deeper walkthrough of every option, see our full guide on how to cast on in knitting.
How Many Stitches?
With chunky yarn and US size 10 or 11 needles, casting on between 20 and 28 stitches creates a scarf roughly six to eight inches wide. Fewer stitches create a narrower scarf that is easy to wrap; more stitches create a wide wrap-style scarf. Try casting on a number you like, then knit a few rows and hold it up to see whether the width feels right. If it does not, undo it and start again. That is totally normal.
Long-Tail Cast On in Plain Words
Pull out a tail about four times the width you want your finished scarf to be, plus a little extra. Place the slip knot on your right needle. Hold the tail over your thumb and the working yarn over your index finger, with both strands tucked into your palm. Bring the needle up through the loop on your thumb, over the strand on your index finger, and back down through the thumb loop. Release your thumb, then tug gently to snug the new stitch. Repeat until you have the right number.
| Cast On Method | Difficulty | Edge Feel | Best For |
|---|---|---|---|
| Long-tail | Medium | Neat and stretchy | Most scarves |
| Knitted | Easy | Slightly loose and bumpy | First attempts |
| Cable | Easy | Firm and sturdy | Edges that need structure |
| Backward loop | Very easy | Loose and unstable | Quick additions mid-project |
If Your Cast On Looks Uneven
Uneven stitches along the cast on edge are extremely common and are rarely a problem once the scarf is finished. The first row of knitting tends to even them out, and the weight of the fabric smooths the rest. If a stitch looks twisted on your needle, simply make sure the leg of the loop closest to the tip sits in front. If several look twisted, you may have wrapped the yarn the wrong way, and starting over is often quicker than correcting each one.
Stitch markers make counting your cast on much easier.
7. Learn the Knit Stitch
The knit stitch is the heart of knitting. Almost everything you will ever make begins with this one simple movement, and your scarf is made of nothing else. Take it slowly, and remember that it is four small actions repeated over and over: insert, wrap, pull through, slide off.
The Four Movements
Insert: Hold the needle with your cast-on stitches in your left hand. Slide the tip of the right needle into the front of the first stitch, from left to right, so the needles form a little X with the right needle behind the left. Wrap: Bring the working yarn counter-clockwise around the right needle tip, passing it between the needles from back to front. Pull through: Use the right needle tip to pull that wrapped yarn back through the stitch, creating a new loop on the right needle. Slide off: Let the old stitch slip off the left needle. You have now made one knit stitch.
Hand Position and Tension
There is no single correct way to hold your yarn. Many knitters wrap it around their little finger and drape it over the index finger of their right hand, which creates gentle, even tension. Others hold the yarn in the left hand, and still others use a pinch grip. Try a few until one feels natural. The goal is steady yarn flow, not a death grip. If your stitches are so tight that the needle will not slide in, you are holding too firmly.
Your first dozen stitches may look uneven, and that is a normal, healthy part of learning. Consistency arrives with repetition, not with perfect instruction. Aim for relaxed shoulders and loose hands, and let the rhythm come. By the end of your first row, you will already feel the motion becoming familiar.
Signs It Is Going Well
- The needle slides in easily
- Stitches look like small V shapes
- Your shoulders stay relaxed
- You can find the next stitch quickly
Signs To Slow Down
- Stitches are too tight to enter
- Your hands cramp or ache
- Loops keep falling off the needle
- You lose track of the working yarn
Reading Your Stitches
As you gain confidence, start looking closely at the stitches you have made. A properly formed knit stitch on the front of a row looks like a tiny V, while the back shows a bump. Being able to recognize a correct stitch lets you spot a mistake several rows down without needing anyone else to inspect your work. It also helps you understand why a dropped stitch forms a ladder, which makes repairs far less intimidating.
Ergonomic needles and hand supports for longer knitting sessions.
8. Turn and Build Your Rows
Once you have knit across all the stitches on your left needle, you have completed one row. Your right needle is now full and the left needle is empty. To start the next row, swap the needles between your hands, so the full needle returns to your left hand and the empty one goes to your right. That simple swap is called turning your work, and in garter stitch you will repeat it for the whole scarf.
How Garter Stitch Builds
Because every row is knit, garter stitch forms horizontal ridges. Each ridge is made of two rows, one that looks like a row of Vs and one that looks like a row of bumps. As you work, you will see these ridges stack up, and you can use them to measure your progress. Ten ridges is twenty rows, which is an easy way to keep count without writing every number down.
Edges, Tension, and Rhythm
Keep the first stitch of each row snug but not tight, and pull the working yarn gently after you start each new row to avoid loose edge loops. A neat edge makes your scarf look polished from far away. If your edges look wavy, try slipping the first stitch of every row purlwise, which means moving it from the left needle to the right without knitting it. If you are not ready to slip stitches yet, simply knit every one and the edge will still look charming.
Find your rhythm by knitting while you watch a favorite show or listen to music. Many beginners find that knitting for twenty or thirty minutes at a time, rather than for hours, protects their hands and keeps the craft pleasant. Always stop at the end of a row if you can, so you know exactly where to restart.
Joining a New Ball of Yarn
When you run low on yarn, join a new ball at the start of a row rather than in the middle. Leave a tail of about six inches on both the old and the new yarn, then begin knitting with the new strand, letting the tails hang loose. You can weave them in with your other ends later. Joining at the edge keeps the knot out of the center of your fabric, where it would be most noticeable.
Row counters and project bags keep everything tidy.
9. Count and Fix Mistakes
Every knitter makes mistakes, including people who have knitted for fifty years. What separates experienced knitters from beginners is not perfection but calm recovery. Knowing how to count stitches and repair a slip turns mistakes from disasters into thirty-second fixes.
How to Count Your Stitches
At the end of every few rows, count the stitches on your needle. Touch each loop with your finger and say the number quietly. You should end up with exactly the number you cast on. If you have one extra, you probably accidentally wrapped the yarn without knitting, creating an extra loop. If you are one short, you may have skipped a stitch near an edge. Counting early means you catch errors when they are easy to fix, not twenty rows later.
Picking Up a Dropped Stitch
A dropped stitch appears as a loop that has slipped off the needle and begun to unravel down the fabric, leaving horizontal strands called ladder rungs. Do not panic and do not pull on the yarn. Keep your work still, find the loose loop, and slide your needle tip through it from front to back. Pick up the lowest rung, pull it through the loop, then repeat for each rung going upward until you reach the needle. A small crochet hook makes this much easier and is a worthwhile low-cost tool.
When Frogging Is the Better Choice
Sometimes a mistake is large enough that the best repair is to undo several rows, a process knitters affectionately call frogging because you “rip it, rip it.” Slide your stitches off the needle carefully and pull the yarn gently, or use a lifeline thread to protect a safe row. Do not feel discouraged. Experienced knitters frog constantly, and each redo makes your next attempt smoother.
| Problem | Likely Cause | Quick Fix |
|---|---|---|
| Extra stitch | Accidental yarn over | Knit two together on the next row |
| Missing stitch | Skipped near an edge | Pick up a loop in the row below |
| Ladder or hole | Dropped stitch | Pick up rungs with needle or hook |
| Split yarn | Needle caught only part of the strand | Back up and re-enter cleanly |
A small crochet hook makes fixing slipped stitches quick.
10. Bind Off
When your scarf reaches the length you want, it is time to bind off, which means locking your stitches so the fabric does not unravel. The method is simple and is one of the most satisfying moments in a project, because it signals that you are almost finished. For a complete deep dive, our guide on how to cast off in knitting explains every variation.
The Basic Bind Off
Knit the first two stitches of the row as usual, so you have two stitches on your right needle. Insert the left needle tip into the first stitch you made, the one farther from the tip, and lift it up and over the second stitch and off the needle. You now have one stitch on your right needle. Knit one more stitch, then lift the earlier stitch over again. Continue across the row until only one stitch remains.
Cutting and Securing the Tail
When only one stitch remains, cut the yarn, leaving a tail about six to eight inches long. Pull the cut end through the last loop and tug gently to lock it. Your scarf is now officially off the needles. The last step is cleaning up the loose ends, which we cover next.
Keeping the Edge Stretchy
A bind off that is too tight can make the top of your scarf pucker and feel stiff. To avoid this, knit each stitch a little looser than normal, or switch to a needle one size larger for the bind off row. The top edge should have about the same stretch as the bottom edge, so the scarf lies flat and drapes evenly around your neck.
Common Bind Off Mistakes
A frequent beginner error is binding off in the middle of a row because the count looks right. Always bind off across the whole row. Another is pulling the yarn so firmly that the last few stitches pucker. Keep the same gentle tension you used while knitting. And if you find you are one stitch short at the end, do not worry; the final loop is simply fastened off with a tail, and nobody will ever notice a single stitch in the edge.
Sharp knitting scissors and a tapestry needle set.
11. Weave In Ends and Finish
Your scarf now has two loose tails, one at the cast on edge and one at the bind off. Weaving them in hides them inside the fabric so they do not poke out or work loose after washing. This small step is what makes a project look finished instead of homemade in the unfortunate sense.
How to Weave in a Tail
Thread the tail onto a tapestry needle. Turn your scarf to the wrong side. Slide the needle under the bumps of a few stitches for about two inches, going in one direction. Then turn and weave back the other way for another inch or so, which locks the yarn in place. Pull the yarn snug but not tight, and trim the end close to the fabric. Because garter stitch has bumpy ridges, tails disappear easily into the texture.
Blocking for a Polished Look
Blocking is gently wetting your finished piece and letting it dry flat. It relaxes the stitches, evens out tension, and helps the edges lie neatly. For acrylic yarn, steam from an iron held a little above the fabric works, but do not press down. For wool, lay the scarf flat on a towel after a gentle soak and pat it into shape. Always check the yarn label for care instructions first.
Optional Fringe and Finishing Touches
Fringe is a fast way to make a simple scarf feel special. Cut several strands of yarn about eight inches long, fold them in half, and pull the folded loop through the edge stitch with a crochet hook. Pull the tails through the loop and tug snug. Add groups every few stitches along both short ends. You can also sew on a small tag or label to give your scarf a boutique look.
Washing and Caring for Your Scarf
Always follow the care label on your yarn. Most acrylic scarves can be machine washed on a gentle cycle and laid flat or tumbled low. Wool blends usually prefer a cool hand wash with a mild detergent, followed by gentle pressing in a towel to remove water. Avoid wringing or twisting, which can stretch stitches out of shape. A well-cared-for scarf will stay soft and keep its shape through many winters.
Blocking mats and pins help your scarf lie perfectly flat.
12. Troubleshooting and Next Projects
Even with careful steps, a few predictable problems show up for most beginners. Knowing the usual suspects saves frustration and keeps your confidence intact. Here are the most common concerns and what usually fixes them.
| Symptom | Why It Happens | What To Try |
|---|---|---|
| Scarf keeps getting wider | Accidental extra stitches | Count every few rows and fix early |
| Scarf keeps getting narrower | Skipped stitches at row ends | Watch your first and last stitch |
| Stitches too tight | Gripping yarn or needles hard | Relax hands, try larger needles |
| Stitches too loose | Needles too large or yarn slack | Smaller needles, steadier tension |
| Fabric twists | Wrapping yarn the wrong way | Wrap counter-clockwise consistently |
| Sore hands | Long sessions or tight grip | Shorter sessions, bamboo needles |
Building Confidence After the First Scarf
Once your first scarf is finished, you will be surprised how quickly your next project begins to form in your head. A matching hat is a natural step because it uses the same stitch and teaches you simple shaping. A dishcloth is another quick win and costs almost nothing. After that, you can learn the purl stitch, which unlocks stockinette fabric, ribbing, and a world of patterns.
Easy Next Projects
- Garter stitch dishcloth
- Simple headband
- Chunky blanket squares
- Matching beanie
Save For Later
- Lace shawls
- Cabled sweaters
- Colorwork mittens
- Fine-weight socks
If you ever feel stuck, take a break, put your work in a bag, and come back later. Knitting is not a race. Every row you complete is a small act of care that adds to something warm, useful, and entirely yours.
Gifting Your First Scarf
A handmade scarf is one of the most personal gifts you can give. Fold it neatly, tie it with a ribbon, and include a small card that mentions the yarn and care instructions. If the scarf carries a few quirks, tell the recipient proudly. Most people treasure the quirks, because they prove a real person spent real time making it just for them.
Explore beginner patterns and chunky yarn bundles.
Frequently Asked Questions
How long does it take to knit a scarf as a beginner?
Most beginners finish a chunky garter stitch scarf in about ten to twenty hours of knitting. If you knit for thirty minutes a day, that is roughly three to five weeks. Speed improves quickly, so your second scarf will take noticeably less time.
How many stitches should I cast on for a scarf?
With chunky yarn and size US 10 or 11 needles, between 20 and 28 stitches creates a scarf about six to eight inches wide. Cast on, knit a few rows, and hold it against your neck. If it feels too narrow or too wide, adjust and try again.
What is the easiest stitch for a first scarf?
Garter stitch, which is knitting every row, is the easiest option. It lies flat, looks the same on both sides, and hides mistakes well. It is also the only stitch you need to learn for this project.
Can I use worsted weight yarn instead of chunky?
Yes. Worsted weight works fine, but it takes longer because the stitches are smaller. Use slightly smaller needles, around US 8 or 9, and expect to cast on a few more stitches for the same width.
Why is my scarf getting wider or narrower as I knit?
Almost always, the stitch count has changed. An accidental extra loop adds a stitch, while skipping the last stitch of a row removes one. Count your stitches every few rows, and pay extra attention to the first and last stitch of each row.
How do I fix a dropped stitch?
Stop knitting, keep the fabric still, and slide your needle or a small crochet hook through the loose loop. Pull each ladder rung through the loop one at a time, working from the bottom up until you reach the current row.
How much yarn do I need for a scarf?
A standard adult scarf in chunky yarn typically needs around 250 to 350 yards. That is usually two or three skeins, though it depends on your width, length, and tension. Buy an extra skein to be safe.
Do I need to block my scarf?
Blocking is optional but helpful. It evens stitches and flattens edges, making your scarf look more polished. Garter stitch needs less blocking than other fabrics, so a light steam or gentle wash is often enough.
Is knitting harder than crochet for beginners?
Many people find crochet easier at first because it uses one hook and one active loop, while knitting uses two needles and many live stitches. Knitting, however, is easy to learn once the basic movement clicks and creates a stretchy fabric that many people love.
Can I take my knitting project on a plane?
Many travelers do, and short, blunt bamboo or plastic needles are generally the safest choice. Rules can vary by airline and country, so check the latest guidance before you travel and keep your project in your carry-on.
What if my first rows look messy?
That is completely normal. Early rows are uneven for nearly everyone, and your tension will settle as your hands learn the movement. Many knitters keep the messy start as a reminder of how far they have come.
What size needles are best for beginners?
For a first scarf in chunky yarn, US 10 or 11 needles are a comfortable choice. Slightly larger needles create looser stitches, which are easier to work with than tight ones.
Conclusion
Starting a scarf is really about starting a habit of patient, hands-on creativity. You now know how to choose yarn and needles, make a slip knot, cast on, knit, turn your rows, fix mistakes, bind off, and finish your ends. Those skills are the whole foundation of the craft, and you built them on a project that is genuinely useful.
Do not worry about perfection. Your first scarf will have a story in it, from the wobbly cast on to the confident final rows, and that story is part of what makes it special. Keep your sessions short and relaxed, celebrate every few inches, and remember that every knitter you admire once held needles for the very first time.
Gather your supplies, put on something cozy to watch or listen to, and cast on your first stitch. The scarf you wear next winter could be the one you start tonight.
Everything you need, from yarn to needles to finishing tools.
You May Also Like
How to Start Knitting
The complete beginner roadmap, from picking supplies to your first confident stitches.
TravelCan You Bring Knitting Needles on a Plane?
What to pack and what to expect so your project can fly with you.
ComparisonCrochet vs Knitting: Which Is Easier?
A friendly side-by-side look at the two most popular yarn crafts.