
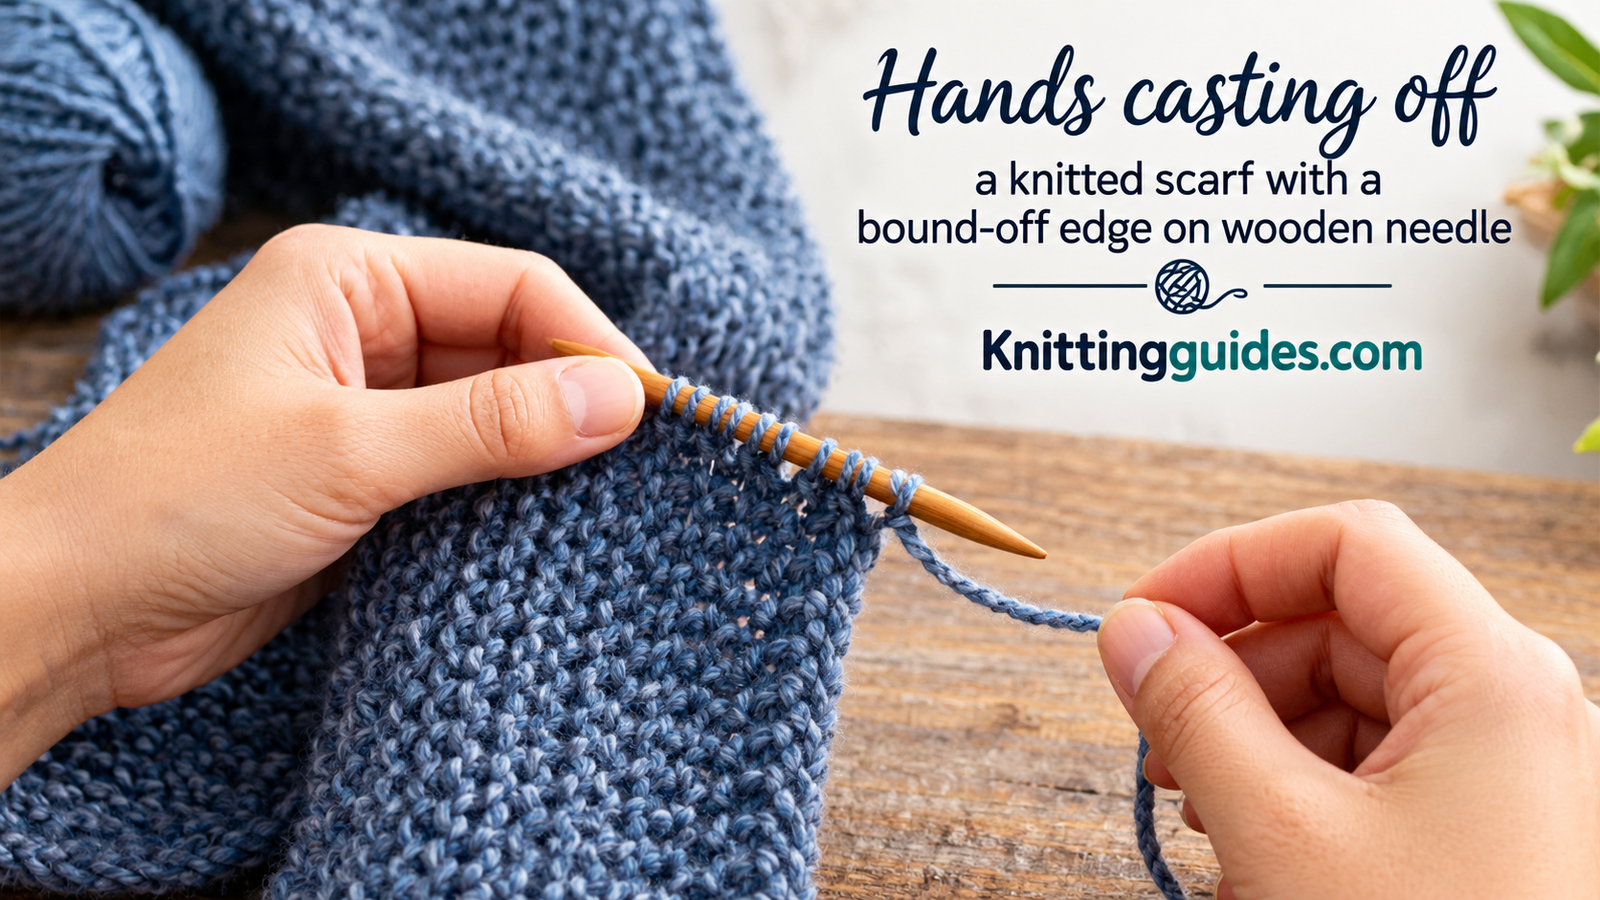
How to Cast Off Knitting: A Clear, Stitch-by-Stitch Guide for Every Project
Learn the classic bind off, the stretchy options, and the clean finishing tricks that make your edges look as good as the fabric beneath them.
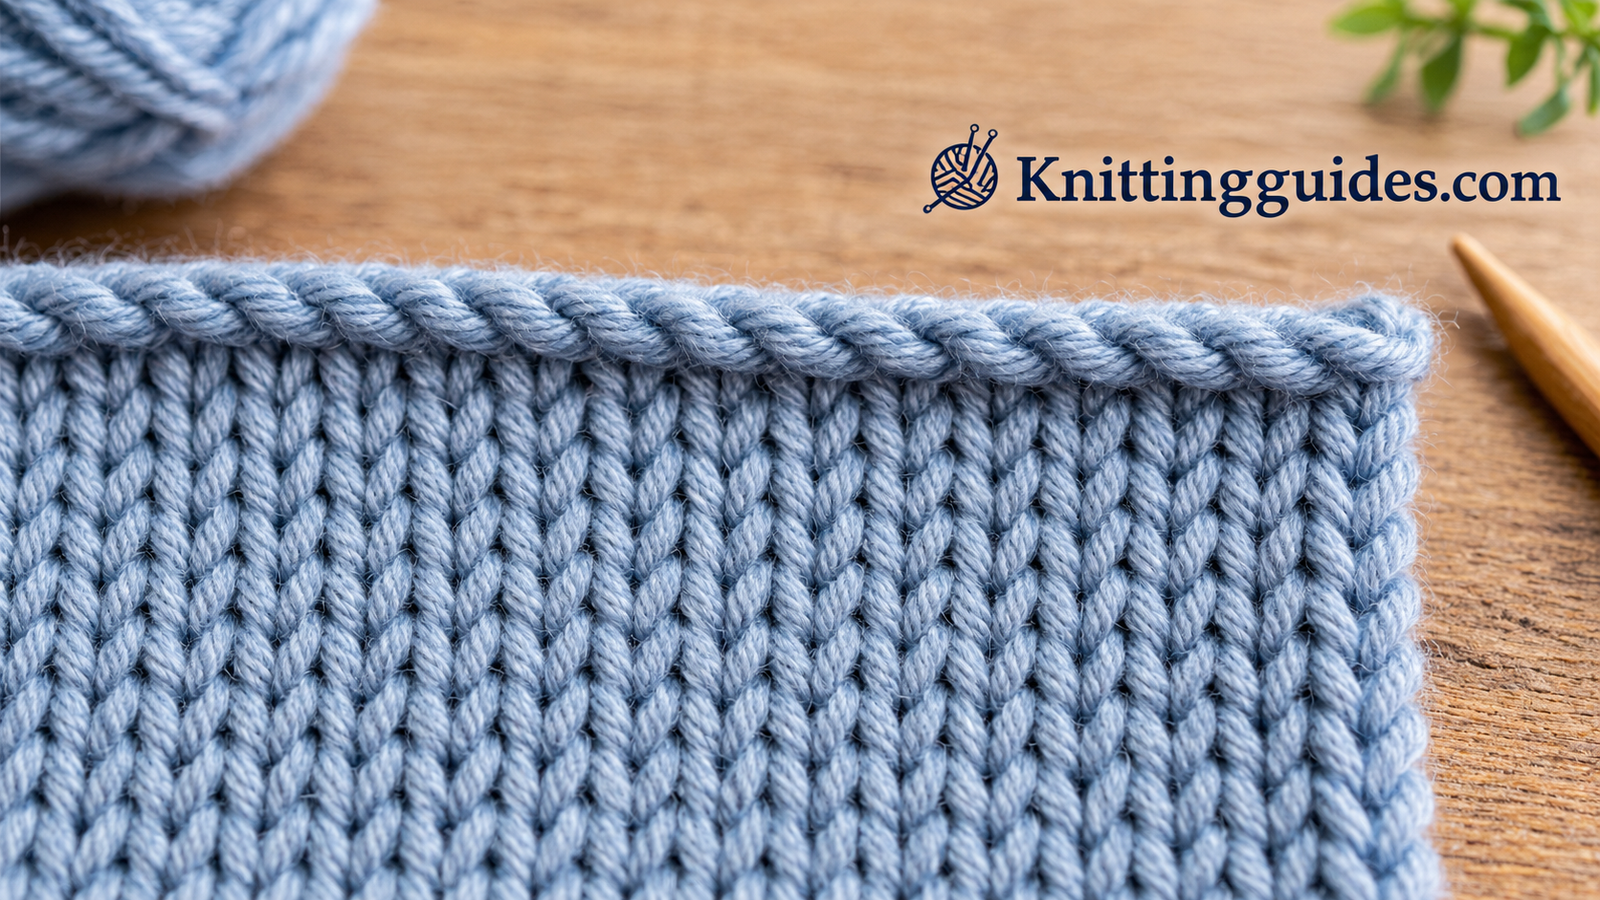
What Casting Off Really Means
Every knitted piece has a beginning and an end. You start with a cast on, which puts the first row of loops onto your needle, and you finish with a cast off, which locks the last row of loops so they cannot unravel. In British English you will see it called “casting off,” while American patterns usually say “binding off.” The two phrases describe exactly the same technique, so if a pattern uses one and a tutorial uses the other, you are not missing anything.
The idea is simple. Each live stitch on your needle is only held in place by the needle itself. Slide the needle out and the whole row can run free like a dropped bead necklace. Casting off passes each stitch over its neighbour so that every loop is anchored by the loop beside it, and the final loop is secured with a tail of yarn. The result is a firm, finished edge that can be sewn, blocked, worn or washed.
Why the way you cast off matters
Many beginners treat the cast off as an afterthought, and then wonder why the top of a hat will not stretch over their head, or why a scarf end curls and puckers. The bind off row sits at the edge of your work, so it has a big influence on how the whole piece behaves. A tight edge pulls the fabric inward like a drawstring. A sloppy edge ripples and looks unfinished. A well-matched edge simply disappears into the project and lets the stitches take the spotlight.
If you are brand new to the craft, it helps to see the full journey from start to finish. Our guide on how to start knitting walks through the whole process, and learning the cast on alongside the cast off gives you both bookends of any project. Once you know both, you can make almost anything that is worked flat, from dishcloths to blankets.
The quick overview
There are dozens of bind off methods, but most of them are variations on five ideas: the standard knit bind off, the same method worked in pattern, a stretchy version for edges that need to give, a joined version that closes two pieces together, and a decorative version that adds something extra to the edge. You will meet all five in this guide, and by the end you will know which to reach for in each situation.
Tools and Materials You Need
You need very little to cast off, which is part of the appeal. Still, a few choices make the job smoother, and some are worth thinking about before you reach the end of a long project.
Knitting needles
The needles you used to knit the piece are the needles you use to cast off. Straight needles, circular needles and double-pointed needles all work. For the stretchy methods covered later, it is common to switch to a needle one or two sizes larger for the bind off row only. If you are still choosing a pair, take a look at our picks for the best knitting needles for beginners, and if you are unsure about sizing, what size knitting needles for beginners explains how needle width and yarn weight work together.
Yarn and a tapestry needle
Smooth, medium-weight yarn is the friendliest for learning because you can see each stitch clearly. Very fuzzy or dark yarns hide the loops, which makes mistakes harder to spot. When you are ready to choose something lovely, our overview of the best yarn for beginner knitting will help you pick a yarn that is kind to your hands. You will also want a blunt tapestry needle, sometimes called a yarn needle, for weaving in the tail once the cast off is complete.
Helpful extras
- Scissors: a small pair for trimming the tail neatly after weaving it in.
- Stitch markers: useful for marking the start of a round on hats and sleeves.
- Crochet hook: a hook one size smaller than your needle rescues dropped stitches and is a handy alternative tool for certain bind offs.
- Blocking mats and pins: not essential for a first project, but they transform the look of the finished edge.
- Row counter or notebook: so you know exactly when your pattern says to stop knitting and start binding off.
A note on traveling with your project
If you like to finish projects on the go, you may wonder whether your tools are allowed on board. Rules vary by airline and by country, so check the latest guidance before you pack. Our article on whether you can bring knitting needles on a plane covers the common questions, and circular needles in a small bag are usually the easiest option to carry.
| Tool | What it does | Beginner tip |
|---|---|---|
| Knitting needles | Hold and transfer stitches | Wood or bamboo grips yarn and slows runaway stitches |
| Tapestry needle | Weaves in the tail | Choose one with a large eye and a blunt tip |
| Crochet hook | Fixes dropped loops | Keep one in every project bag |
| Stitch markers | Flag key points | Use a contrasting color so they stand out |
| Blocking pins | Shape the finished edge | Rustproof pins are safest for wet blocking |
Before You Begin: Tension and Planning
The most important skill in casting off is not a stitch at all. It is tension. The bind off row is where most knitters unknowingly tighten up, because the motion of passing one loop over another feels fiddly and the natural reaction is to tug. Before you work a single stitch, it is worth understanding what good tension looks like.
What good tension looks like
A well-tensioned cast off has loops about the same size as the stitches in your fabric. When you gently stretch the finished edge sideways, it should give a little and spring back. If it will not stretch at all, or if the fabric below it pulls inward into a narrow neck, your bind off is too tight. If the edge flares outward and looks wavy, it is too loose.
Practical ways to keep it relaxed
- Use a larger needle in your right hand. Going up one or two sizes for the bind off row builds in extra give without changing your technique.
- Keep a gap between stitches. After each stitch, pull the working yarn so the new loop sits loosely against the needle’s shaft, not clamped at the tip.
- Work with light hands. Squeezing the needles tightens the yarn. Rest your fingers and let the needle do the work.
- Do a swatch first. Cast off a small practice square before you finish a big project so you can judge the result.
Knowing when to cast off
Patterns usually tell you to cast off when your piece reaches a certain length, often measured from the cast on edge. Measure with the knitting laid flat and relaxed, not stretched. If you are making a scarf, you can read more about proportions in our guide to how to start knitting a scarf, and then use the techniques below to finish it.
Which row should you end on?
Most patterns expect you to finish on a wrong-side row so the cast off happens on the right side. This keeps the little bumps of the bind off visible on the front, which looks tidy. For simple projects like dishcloths or garter stitch scarves, it hardly matters, because both sides look similar.
Stitch count and the last row
Before you start, count your stitches. Casting off is not reversible without unpicking, so it is worth knowing that your count matches the pattern. A quick check on a stitch marker every ten stitches saves a lot of frustration later.
The Basic Knit Cast Off, Step by Step
This is the method almost every knitter learns first, and it remains the right choice for the majority of flat projects. It is sometimes called the standard bind off or the basic knit bind off. We will take it one step at a time, with a diagram for each one so you can see exactly where the needle and yarn go.
Step 1: Knit the first two stitches
Begin with the knitting needle holding all your live stitches in your left hand and the empty needle in your right. Knit the first stitch normally, sliding it from the left needle to the right. Then knit the second stitch the same way. You now have two stitches on the right needle, and the rest of the row waits on the left.
Step 2: Lift the first stitch over the second
Insert the tip of your left needle into the front of the first stitch you knit, the one farther from the tip of your right needle. Lift it up and over the second stitch and right off the end of the needle. Take your time. One loop should now remain on the right needle, and you have bound off your first stitch.
Step 3: Knit the next stitch
With one loop on the right needle, knit the next stitch from the left needle. This brings you back to having two stitches on the right needle, exactly as in Step 1. It is a rhythm you will repeat across the entire row: knit one, then lift the earlier stitch over.
Step 4: Repeat across the row
Lift the older stitch over the newer one, knit another stitch, lift again, and keep going. Check your tension occasionally by gently tugging the finished edge sideways. You will notice a neat chain forming on the right needle’s side of the work. That chain is your bound off edge.
Step 5: Finish the last stitch
When you have worked every stitch from the left needle, you will have one loop left on the right needle. Cut the yarn, leaving a tail of about six inches, or longer if you want to use it to sew a seam. The tail length is up to you, but longer is always safer than shorter.
Step 6: Pull the tail through and tighten
Slip the last loop off the needle and pass the cut end of yarn through it. Pull gently until the loop closes. It should snug up against its neighbours without gathering the edge. Your cast off is now complete, and all that is left is to weave in the tail.
Working it on a swatch
Try this method on a small stockinette square of twenty stitches before moving to a big project. You will quickly feel when the rhythm clicks. Once it does, you can cast off a whole row in about a minute without thinking about it.
Pros
- Easy to learn and remember
- Firm, tidy edge
- Works with almost any yarn
- Good for scarves, blankets and dishcloths
Cons
- Can be too tight for hats and cuffs
- Little stretch across the row
- Edge may flare if worked loosely
Casting Off in Pattern and in Ribbing
The basic bind off treats every stitch as a knit stitch. That works well on stockinette and garter fabric, but it can look wrong on ribbing, where knit and purl columns alternate. If you cast off a ribbed cuff in plain knit stitches, the edge loses the stretch that ribbing is famous for and the columns can look flattened. The fix is to cast off in pattern, which means you work each stitch the way it appears on the fabric.
How to cast off in pattern
Instead of knitting every stitch, you knit the knit stitches and purl the purl stitches as you go, still lifting the previous stitch over each new one. This keeps the columns of ribbing aligned right up to the top edge.
Step 1: Read the stitch in front of you
Look at the next stitch on the left needle. If the bump faces you and looks like a small V, it is a knit stitch. If it looks like a horizontal bar or bump, it is a purl stitch. Knit the first stitch if it is a knit, or purl it if it is a purl.
Step 2: Work the second stitch the same way
Do the same for the second stitch. When you have two stitches on the right needle, lift the first over the second, just like in the basic method. Yarn position matters here: bring the yarn to the front before purling and to the back before knitting.
Step 3: Continue across and finish as usual
Keep alternating knits and purls according to the rib pattern, lifting the previous stitch over each time, until a single loop remains. Cut the yarn, pull the tail through, and tighten gently.
Why it looks better
When the cast off mirrors the fabric, the top edge blends in rather than forming a distinct border. The ribbing columns continue to the edge, and the elasticity of the fabric is preserved. It is the standard choice for the cuffs of sweaters, the brims of beanies and the neckbands of pullovers.
If the result is still too snug, combine this technique with a larger needle. A lot of knitters keep a spare needle two sizes up in their bag specifically for this purpose.
Purl Cast Off and Garter Edges
Sometimes you are told to cast off purlwise, usually when the last row you knit was a purl row and the pattern calls for a bind off on the wrong side of the fabric. The idea is the same as the basic method, but each stitch is purled instead of knitted. Garter stitch is another common context, since garter edges are made of ridges and a plain knit cast off sits neatly on top of them.
Purlwise bind off
To cast off purlwise, bring the yarn to the front, purl the first stitch, then purl the second stitch. Lift the first stitch over the second and off the needle. Repeat until one stitch remains. Then fasten off as usual. The movement is the mirror of the knit version, and your edge will show a row of small bumps on the front instead of the chain.
Garter stitch edges
Garter stitch is knitted on both sides, so the standard knit bind off is a natural fit. The cast off row blends into the ridges and gives a tidy end to scarves, dishcloths and baby blankets. Because garter stitch is slightly thicker and springier than stockinette, a medium-tension bind off with no needle change often works well.
When to choose purlwise
- Stockinette pieces seamed on the wrong side: binding off on a purl row lets the edge sit behind the right side.
- Patterns that say “bind off purlwise”: follow the instructions, because the designer chose it for a reason.
- Edges that need a rolled look: the purl bump gives a softer roll to the edge.
| Fabric | Best bind off style | Reason |
|---|---|---|
| Garter stitch | Standard knit | Blends into the ridges |
| Stockinette | Knit or purl, matched to the last row | Keeps the edge flat |
| 1×1 or 2×2 ribbing | In pattern | Keeps the column alignment |
| Seed stitch | In pattern | Echoes the alternating bumps |
| Lace | Stretchy method | Lets the openwork spread when blocked |
If you are knitting a simple project for the first time, our guide on starting a scarf pairs well with the garter version of this bind off. A plain garter scarf is the classic first project, and finishing it with a knit cast off feels like a satisfying small victory.
Stretchy Cast Offs
Some edges need to stretch. Think of a sock cuff that has to fit over a heel, the top of a toe-up sock, a hat brim that goes over your ears, or the neckline of a sweater that has to clear your head. A standard bind off can be too tight for these pieces, and the usual signs are a rolled edge, a puckered cuff or a hat that sits too high on the head. Stretchy methods fix that.
Method 1: Sewn bind off (the tapestry needle method)
The sewn bind off is a classic choice for ribbing and is wonderfully elastic. It uses the tail and a tapestry needle instead of a second knitting needle, and the result is a smooth, even edge that looks like a continuation of the fabric. It does require a long tail, about three times the width of the edge.
Step 1: Cut a long tail and thread it
Work until you have a row ready to bind off. Cut the yarn, leaving a tail about three times the width of your piece, and thread it onto a tapestry needle.
Step 2: Work the sewing pattern
Insert the tapestry needle purlwise through the first two stitches and pull the yarn through, leaving them on the needle. Then insert it knitwise into the first stitch and slip that stitch off. Repeat, alternating the passes, until all stitches have been secured.
Keep the tension even and avoid pulling too hard. If the sewn edge looks bunched, the stitches were pulled too tight, and you can ease them with a blunt needle once the work is off.
Method 2: Jeny’s Surprisingly Stretchy Bind Off
This popular method works by adding a yarn over before each knit stitch and a yarn over in reverse before each purl stitch, which creates extra yarn in the edge. The result stretches farther than most bind offs, so it is a favourite for toe-up socks, cuffs and shawl edges. The motion takes a little getting used to, so practice on a swatch first.
Method 3: Yarn-over bind off
A simpler cousin of the Jeny’s version. Before you knit each stitch, you wrap the yarn over the needle once, then knit the stitch and lift both the wrap and the previous stitch over it. The extra loop gives the edge slack without much complexity, and it works well for lace shawls, where the bound off edge needs to open out when blocked.
Method 4: Larger needle trick
If you do not want to learn a new technique, use the basic bind off with a needle two sizes larger. For many projects this is all you need, and you can switch back to your regular needle for the next piece.
| Method | Stretch | Difficulty | Best for |
|---|---|---|---|
| Basic knit with larger needle | Moderate | Easy | Hats, simple cuffs |
| Sewn bind off | High | Medium | 1×1 ribbing, hat brims |
| Yarn-over bind off | High | Easy | Lace, shawls |
| Jeny’s stretchy bind off | Very high | Medium | Sock cuffs, toe-up socks |
Three-Needle Bind Off for Seams
The three-needle bind off is a clever way to join two sets of live stitches together while casting off at the same time, so you get a seam and a finished edge in one step. It is used on shoulder seams, the bottoms of bags, and the tops of pieces knit in two halves. There is no sewing at the end, and the join is strong and flat.
What you need
You need two needles holding live stitches, with the same number of stitches on each, and a third needle to work the bind off. Place the two needles parallel, with the right sides of the fabric facing each other if you want a hidden seam on the inside, or with the wrong sides together if you want the seam to show as a decorative ridge.
Step 1: Line up the two needles
Hold both needles in your left hand with the tips pointing the same way, and the live stitches matching up one to one. Use the third needle in your right hand.
Step 2: Knit two stitches together as one
Insert the third needle knitwise through the first stitch on the front needle and the first stitch on the back needle at once. Wrap the yarn and pull a loop through, dropping both stitches off. You now have one new stitch on the right needle.
Step 3: Repeat and bind off
Do the same with the next pair of stitches. Now there are two stitches on your working needle. Lift the first over the second, just like in the basic bind off. Keep going until all the pairs are joined, then cut the tail and pull it through the last loop.
The resulting seam is neat and elastic, with a gentle chain visible along the join. If you ever need to join a hat top or the two halves of a wide piece, this technique saves you from a lot of tapestry needle work.
Decorative Edges: Picot and I-Cord
Once the basics feel comfortable, you can start using the cast off as a design feature. A decorative bind off turns the final row into a trim, with little points or a corded border that frames the piece.
Picot bind off
A picot bind off creates small scalloped points along the edge, similar to the edge of a delicate lace trim. To make one, bind off a few stitches in the usual way, then slip the remaining stitch back to the left needle. Cast on two new stitches using the cable method, then bind off those two stitches plus a few more. Repeat the sequence across the row. The little loops give a frilly finish that suits baby blankets, shawls and dishcloths.
- Spacing: a point every four or five stitches looks balanced.
- Size: three-stitch picots are bolder, and two-stitch picots are subtle.
- Blocking: pin each point out lightly so it holds its shape.
I-cord bind off
The I-cord bind off adds a rounded, rope-like trim to the edge. You cast on a few extra stitches at the end of the row, usually three, then knit two of them and knit the third together with the next live stitch through the back loop. Slip the three stitches back to the left needle and repeat. The result is a neat tubular border that is firm and attractive, perfect for blankets and the edges of shawls that need a bit more structure.
This method uses more yarn and takes longer than the plain bind off, so plan accordingly. It is a great way to finish an heirloom blanket or a gift that deserves a special touch.
Crochet bind off
If you are comfortable with a crochet hook, you can use it to cast off. Insert the hook into the first stitch, slip it off the needle and pull through the second stitch, continuing across the row. It is quick, and the edge is even. Curious about how the two crafts compare? Our comparison of crochet vs knitting explains how they overlap.
Pros of decorative edges
- Adds personality to simple fabric
- Hides tiny irregularities
- Gives structure to soft edges
Cons
- Uses more time and yarn
- Needs practice to look even
- Can over-stiffen delicate fabrics
Casting Off in the Round and Special Cases
Not every project is worked flat. Hats, sleeves, cowls and socks are often knitted in the round, and the cast off works a little differently there. There are also special cases, such as curved edges and lace, that benefit from a modified approach.
Casting off in the round
When you knit in the round, you cast off exactly as you would in a flat row, working around the circle until you reach the start-of-round marker. The only difference is the end. Once you have bound off every stitch, you will have one loop left on the right needle and one stitch still waiting on the left, at the join. Cut the yarn, pull the tail through, and use a tapestry needle to sew the last stitch to the first so the circle closes invisibly.
Hats and brims
If you are binding off the top of a hat that decreases to a point, it is common to cut the yarn, thread the tail through all remaining stitches and cinch them closed. For a brim cast off, use a stretchy method so the hat sits comfortably.
Necklines
A neckline needs to stretch enough to go over the head without gaping. The sewn bind off, Jeny’s stretchy bind off or a plain bind off with a much larger needle all do the job. Test the stretch by pulling the edge over your fist before you commit to weaving in the tail.
Shaping and shoulders
When shaping, patterns often tell you to bind off a few stitches at the start of rows to create armholes, shoulders or curves. This is the same technique, but you only cast off part of a row, then continue knitting the rest. Remember to treat the stitch that remains on your right needle after the bind off as the first stitch of the next section.
Lace and openwork
Lace is knitted loose and then blocked out. A tight bind off pulls the edge in and ruins the delicate shape. A stretchy bind off or a yarn-over bind off is ideal. You can even use a much larger needle, followed by aggressive blocking, to let the lace pattern shine.
| Project | Recommended method | Extra tip |
|---|---|---|
| Hat brim | Sewn or stretchy bind off | Test over your head before finishing |
| Scarf end | Basic knit | Match the tension of the cast on edge |
| Sweater neck | Stretchy bind off | Use a larger needle |
| Shoulder seam | Three-needle | Hold the yarn loosely |
| Shawl edge | Yarn-over or picot | Block to open the lace |
| Blanket | Basic or I-cord | Cast off loosely for even drape |
Common Mistakes and Quick Fixes
Everyone makes mistakes when casting off, even experienced knitters. The good news is that nearly all of them are easy to fix, and most come down to tension or counting.
Mistake 1: The edge is too tight
This is by far the most common issue. The fabric pulls in, the piece looks like it has a neck, and stretching the edge is difficult. The fix is to rip back the cast off row and redo it with a larger needle, or try a stretchy method. Remember to give each stitch a little breathing room before you lift the earlier one over.
Mistake 2: The edge is too loose
If the bind off looks wavy or flares outward, you pulled the yarn too loosely. Switch back to the regular needle size, or even go down a size, and tension the yarn a little firmer after each stitch.
Mistake 3: Running out of yarn
It is heartbreaking to reach the last few stitches and find there is no yarn left. As a rule of thumb, leave a length of yarn about three to four times the width of your work for the bind off. If you are unsure, estimate by measuring against a swatch, or use the sewn bind off approach where the tail length is easy to judge.
Mistake 4: Binding off too early or too late
Count your rows and compare with the pattern. If you cast off one row too soon, you can often pick out the bound-off stitches and add another row. A crochet hook helps you retrieve the live loops safely.
Mistake 5: Dropped or twisted stitches
If you drop a stitch while casting off, catch it quickly with a crochet hook and continue. If a stitch is twisted, you will see a crossed loop at the base. Correct it by slipping the stitch off, untwisting and placing it back before you bind it off.
Mistake 6: Uneven edges
If some stitches look tight and others loose, slow down. Take breaks, relax your hands, and aim for the same motion every time. It gets easier with practice, and most people find their edges become consistent after a few projects.
Quick fixes
- Too tight: go up a needle size
- Too loose: go down a size or tension firmly
- Dropped loop: catch with a hook
- Short tail: plan a longer one
Habits to avoid
- Pulling hard on every stitch
- Casting off while tired
- Skipping the swatch
- Cutting the yarn too early
Finishing, Blocking and Choosing a Method
Once the last stitch is secured, you are almost done. Two finishing steps make the difference between a project that looks homemade in the best way and one that looks unfinished: weaving in the ends and blocking.
Weaving in the ends
Thread the tail onto a tapestry needle. Weave it diagonally through the back of the stitches along the edge for about two inches, then change direction and weave back for a short distance. This anchors the yarn so it stays put through washing and wear. Trim the end close to the fabric once you are sure it is secure.
Blocking
Blocking is the process of dampening your knitting and letting it dry in its final shape. It evens out stitches, relaxes the bind off and opens up lace. Pin your piece to a blocking mat, gently mist it with water or soak it according to the yarn label, and leave it to dry. A blocked cast off edge almost always looks neater than an unblocked one, and any tightness often relaxes.
Choosing the right method
If you are not sure which bind off to use, run through these questions. Does the edge need to stretch? Is it a seam? Is it going to be seen? Do you want a decorative touch? Answer those and the choice becomes clear.
| If you need… | Choose | Why |
|---|---|---|
| A simple, firm edge | Basic knit bind off | Quick and reliable |
| A ribbed edge that matches the fabric | In pattern bind off | Keeps the columns lined up |
| A stretchy neckline or cuff | Sewn or Jeny’s bind off | Extra give |
| Two pieces joined | Three-needle bind off | No sewing |
| A pretty border | Picot or I-cord | Decorative finish |
Where to go next
Once you can cast on and cast off with confidence, you can make almost any flat project. If you would like everything you need in one box, our roundup of the best knitting kits for beginners is a handy place to start. Otherwise, pick a simple project, such as a garter scarf or a dishcloth, and practice what you have learned until finishing a piece feels as natural as starting one.
Frequently Asked Questions
What is the difference between casting off and binding off?
Nothing. Casting off is the British term and binding off is the American term for the same technique, which secures live stitches at the end of a project.
How do you cast off knitting for beginners?
Knit two stitches, lift the first stitch over the second and off the needle, then knit one more and repeat. When one stitch remains, cut the yarn, pull the tail through it and tighten.
How much yarn do I need to cast off?
As a rough guide, allow a length about three to four times the width of your work. For the sewn bind off, the tail should be about three times the width of the edge.
Why is my cast off too tight?
Most knitters pull the yarn too firmly during the bind off row. Try a needle one or two sizes larger, relax your hands, and leave a little slack after each stitch.
How do I cast off loosely?
Use a larger needle, keep the loops relaxed, or choose a stretchy method like the sewn bind off or a yarn-over bind off.
What is the stretchiest bind off?
Jeny’s Surprisingly Stretchy Bind Off and the sewn bind off are two of the most elastic options, and they work especially well for cuffs and necklines.
Should I cast off knitwise or purlwise?
Cast off in the same stitch you were working on the last row unless your pattern says otherwise. For ribbing, cast off in pattern so knits and purls stay aligned.
How do I cast off in the round?
Work the same way as a flat bind off, going around the circle to the start marker. Then sew the last stitch to the first to close the gap invisibly.
Can I fix a cast off that is too tight after finishing?
You can unpick the bound off row and redo it with a larger needle, or carefully block the piece. Blocking relaxes mild tightness but will not fix a severe case.
What is the three-needle bind off used for?
It joins two sets of live stitches together while casting off, which is ideal for shoulder seams and bag bottoms where you want a strong join without sewing.
How do I weave in the tail after casting off?
Thread a tapestry needle, weave the tail along the back of the edge for about two inches, change direction, and weave back a short way before trimming.
Do I need a different needle to cast off?
No, you use the same needles as the rest of the project. A larger needle is only an option for achieving a more flexible edge.
Conclusion: Finish Every Project with Confidence
Casting off is one of those skills that feels intimidating until you do it once, and then becomes second nature. The basic knit bind off will carry you through most scarves, blankets and dishcloths. When a project calls for stretch, a ribbed finish or a seam, you now have the sewn, stretchy and three-needle methods in your toolbox, plus decorative options for when you want to add a little flair.
Remember the three habits that matter most: keep your tension relaxed, match the bind off to the fabric, and always leave a generous tail. Practice on a small swatch, block your finished piece, and enjoy the satisfaction of a neat edge. Every row you bind off makes the next one easier, so cast on something new and keep going.